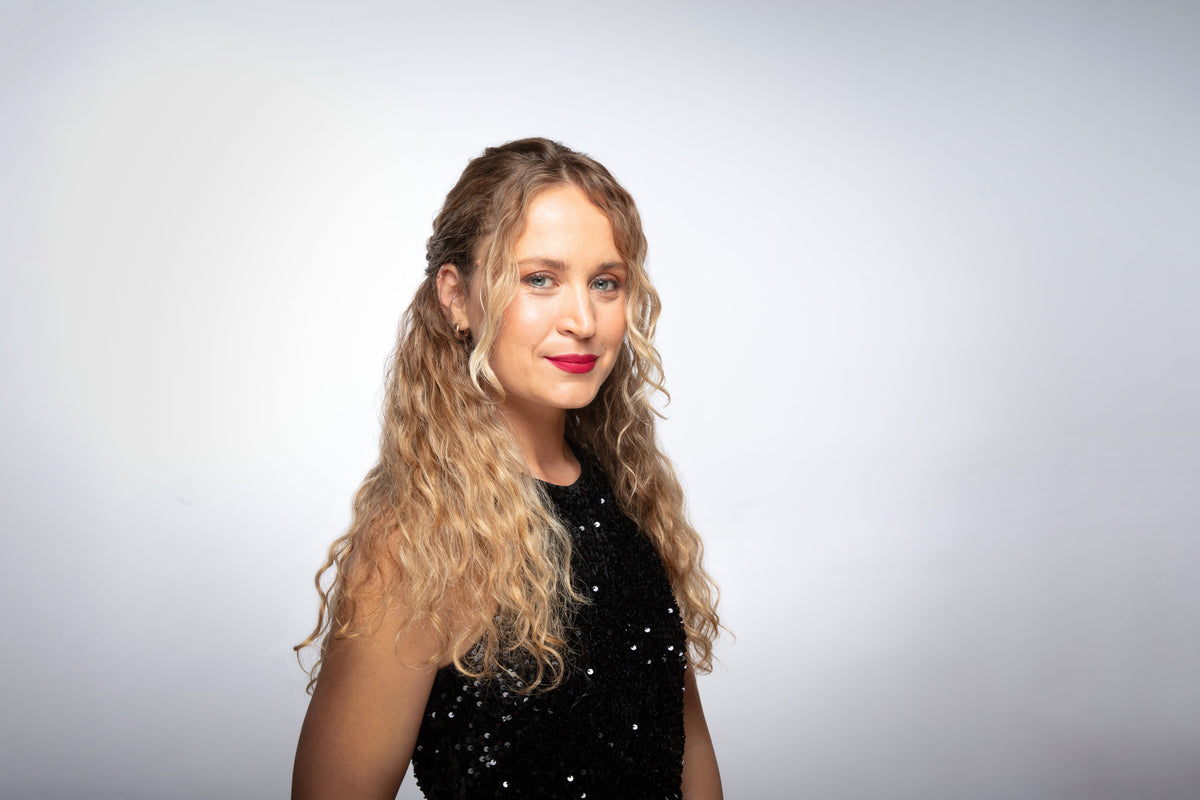
A simple half up, half down wavy hairstyle for the holiday season? Yes, please! It’s all about looking and feeling fabulous! Whether attending a party, gathering with friends, or simply hosting in the comfort of your home - what better way to celebrate than with a chic, half-up, half-down hairstyle that shows off your natural waves? This look is perfect for adding a touch of elegance to your wavy texture, with a playful bow to top it all off.
Table of Contents :
- Meet the Expert
- Required Products & Tools
- Step-by-Step Half Up Half Down Style Guide
- How to Identify Wavy Hair
Meet the Expert
Anastasia Stylianou is a renowned freelance celebrity hairstylist and textured hair specialist with a wealth of global experience. Her career as a sought-after session stylist has taken her to fashion runways, high-profile editorial shoots, and red carpet events worldwide. Known for her artistry and deep understanding of textured hair, Anastasia seamlessly blends creativity with precision to deliver stunning, customized looks. Whether she's crafting bold statement styles or enhancing natural curls, her passion for textured hair care and styling shines through in every masterpiece she creates.
Required Products & Tools
Before we start, let's run through a quick inventory of wavy hair product essentials to make this style successful!
- Hair tie
- Hair grips
- Bow
- Water Mist
- Effortless Waves
- Bouncy Strength Volume Foam
- Frizz Rescue Finishing Serum
- Flawless finish Hair spray Flexible hold
Now that we're fully equipped, let's get started with this simple yet effective wavy hairstyle.
Step-by-Step Half Up Half Down Style Guide
In this step-by-step guide, we'll show you how to create the perfect holiday hairstyle using Curlsmith products to define your waves, add volume, and tame frizz while adding shine. Plus, it works best on day 2 or 3 hair, making it a quick and easy style when you're short on time!
Step 1: Prep Your Waves

Begin by lightly misting your hair with a water spray to rehydrate and refresh your natural texture. Then, apply Effortless Waves to enhance and define while reducing frizz. For a boost of volume and texture; layer on the Bouncy Strength Volume Foam, which will help with expansion towards your ends and give your waves that extra bounce. Use a diffuser on a medium setting to gently dry your hair and enhance the shape.
Step 2: Smooth and Section
Next, smooth a small amount of Frizz Rescue Finishing Serum throughout your wavy strands. This serum will tame any frizz and add a beautiful, glossy finish to your waves. Now, leave out two small face-framing pieces at the front to soften the look. Then use your fingers to gather the top half of your hair towards the back of your crown. Be gentle here - you don't want to disrupt your wave pattern.
Step 3: Secure the Top Section

With a small, snag-free hair tie, secure the top section of hair into a ponytail just underneath your crown. Keep it snug but not too tight so it won't create tension or flatten your waves. Once secured, take a moment to tweak and adjust the shape to your liking. Pull a few pieces loose to add texture, or keep it sleek and neat—it's up to you!
Step 4: Optional Detailing

This step is optional. You can take a section of hair from each side, wrap it around the hair tie, and then pin it. This creates a seamless blend; however, you will be placing the bow on top, so this isn't mandatory.
Step 5: Add the Bow

To give your style that festive finishing touch, add a bow to the base of your ponytail. Whether you go for a classic velvet ribbon or something sparkly, the bow will add just the right amount of holiday cheer. Adjust it until perfectly centered, ensuring the look stays polished and elegant.
Step 6: Fluff and Perfect
Now, it's time to bring the volume! Use your fingers to gently separate and fluff your waves in the top and bottom sections. This will add definition and fullness to your hair while keeping your waves looking natural and bouncy. Be bold and play with individual pieces until everything sits exactly where you want it.
Step 7: Lock it In
Finally, give your look a light mist of Flawless Finish Flexible-Hold Hairspray. This will lock your style in place while allowing your waves to stay soft, flexible, and full of movement: no stiffness, just perfectly defined, touchable waves.
Image file name: half-up-half-down-festive-style-finished
Alt text: long wavy hair with a bow accessory showcasing the half up half down hairstyle from behind.

How To Identify if you have Wavy Hair
Wavy hair, categorized as Type 2 on the hair typing chart, is sometimes overlooked if you’re unsure of its defining characteristics. These soft, flowing waves can vary in texture and shape, making it tricky to identify without guidance. Want to learn more? Take our curl quiz to discover if you have wavy hair, gain a deeper understanding of its unique traits, and receive tailored product recommendations to help you embrace and enhance your natural waves!
All Wrapped Up With Curlsmith
And just like that, your chic half-up, half-down wavy hairstyle is complete! This style perfectly blends playful charm with a polished finish, topped off with a festive bow for that extra touch of holiday magic. Whether you’re a seasoned pro at styling your waves or just starting out, this look is easy to achieve and beautifully enhances your natural texture.